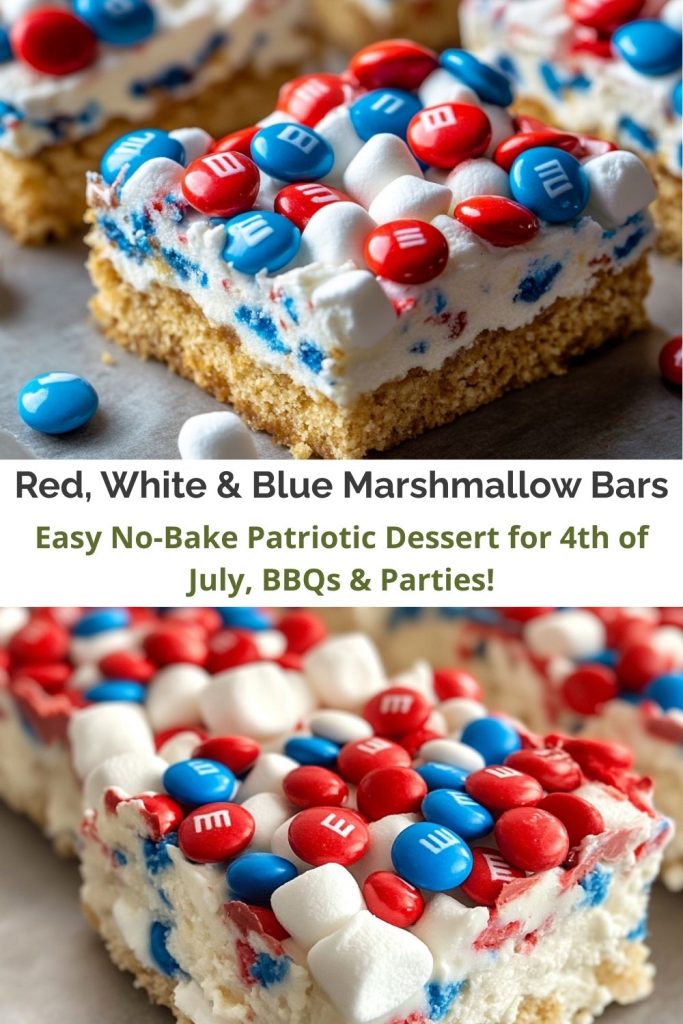
Red, White and Blue Marshmallow Bars: The Ultimate Party Treat That’ll Steal the Spotlight
Hey there, fellow food adventurer! Chef here, ready to spill the beans (or should I say, marshmallows?) on the easiest, most festive dessert you’ll make all summer. Picture this: It’s Fourth of July, the grill’s smoking, the pool’s splashing, and your cousin’s debating whether hot dogs qualify as a “salad” (they don’t, Karen). Suddenly, you remember you signed up to bring dessert. Cue the panic.
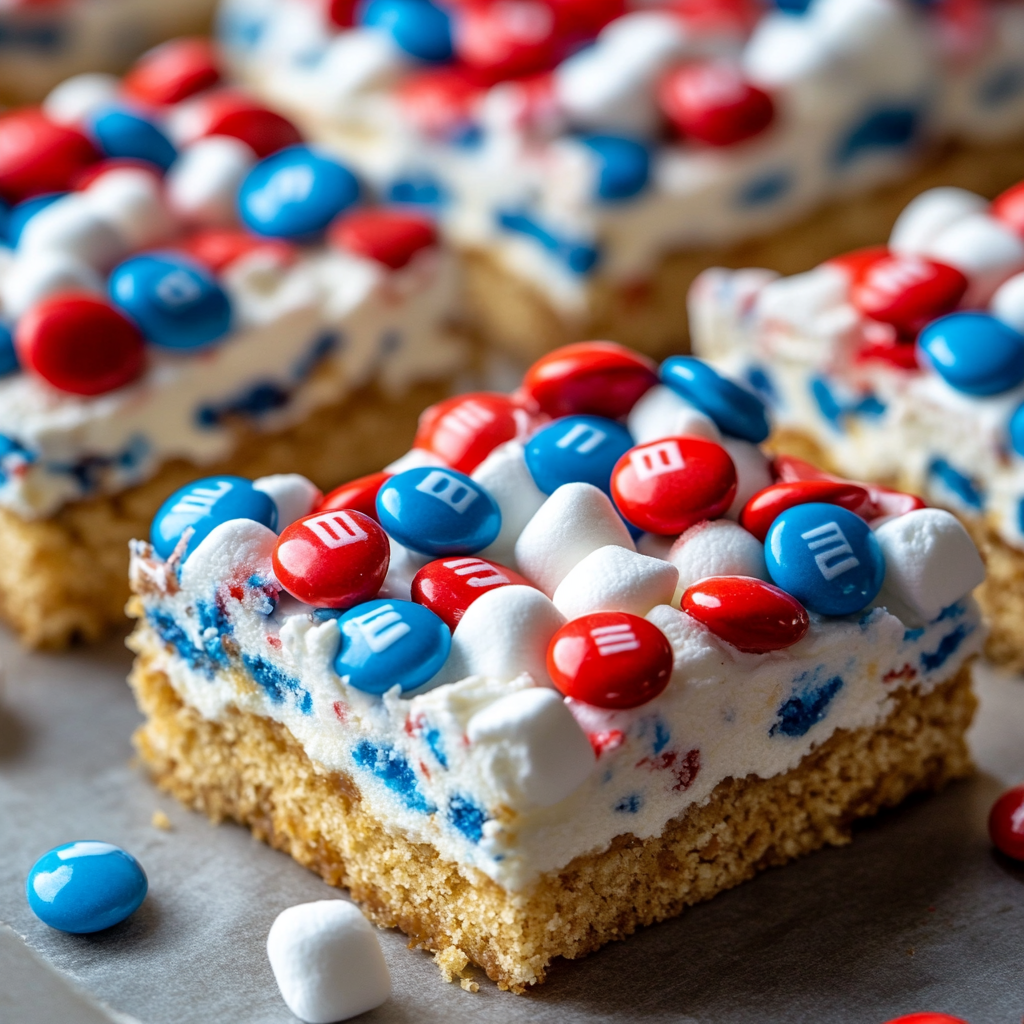
But guess what? These Red, White and Blue Marshmallow Bars are your golden ticket—no oven required, zero fuss, and maximum “oohs” and “ahhs.”
These bars are like edible fireworks: crunchy, chewy, melty, and bursting with patriotic charm. They’re the dessert equivalent of a high-five—simple, satisfying, and impossible to resist. Whether you’re wrangling kids at a BBQ, impressing your in-laws, or just treating yourself after a long day (no judgment here), this recipe’s got your back. Let’s dive into the magic!
The Time My Grandma Accidentally Invented Marshmallow Chaos (And Why It Worked)
Let me take you back to the summer of ’99. I was 10 years old, rocking neon swim shorts and a questionable bowl cut, helping my grandma prep desserts for our family’s annual Independence Day bash. Her signature move? A legendary “leftovers dessert” where she’d toss random sweets into a pan and call it “vintage fusion.”
One year, she grabbed half a bag of marshmallows, a handful of chocolate Easter eggs (dyed red and blue, naturally), and crushed up Ritz crackers because “grahams are for sissies.” We all watched in suspense as she stirred everything together with wild abandon. The result? A glorious, sticky mess we dubbed “Crackle Boom Bars.” They were lopsided, vaguely metallic-tasting (turns out Easter foil isn’t edible), but we DEVOURED them.
That day, I learned two things: 1) Creativity trumps perfection, and 2) melted chocolate fixes everything. This recipe is my polished tribute to Grandma’s chaotic genius—minus the aluminum aftertaste.
What You’ll Need for Red, White and Blue Marshmallow Bars
Here’s the dream team that makes these bars shine:
-
3 cups mini marshmallows – Go mini or go home! Their size helps them melt just enough to cling to the chocolate without turning into glue.
Sub: Regular marshmallows chopped small, or swap in freeze-dried strawberries for a fruity twist! -
2 cups milk or semi-sweet chocolate chips – Milk chocolate = crowd-pleasing sweetness. Semi-sweet = richer, grown-up vibes.
Pro tip: Use a mix of both for depth! -
3 tbsp butter – The unsung hero that keeps the chocolate silky.
Sub: Coconut oil for a dairy-free version, but expect a subtle tropical flair. -
1 cup red, white & blue M&Ms – The patriotic MVP.
No seasonal M&Ms? Use regular ones + freeze-dried blueberries for that “blue” pop. -
Optional: ½ cup crushed graham crackers or pretzel pieces – For texture rebels. Pretzels add salty swagger; grahams keep it classic.
Pro tip: Crush them in a bag with a rolling pin—it’s cheaper than therapy!
How to Make Red, White and Blue Marshmallow Bars
1. Melt the Chocolate & Butter:
Toss the chocolate chips and butter into a saucepan over LOW heat. Stir like you’re gently persuading a toddler to share toys—slow and steady wins the race. High heat = seized chocolate = sad, gritty bars. Once the mixture is smooth and glossy, kill the heat and let it cool for about two minutes.
Why cool it down? Because if you add marshmallows too early, you’ll end up with a molten mess that looks more like science experiment leftovers than a dessert.
2. Fold in the Goodies:
Add marshmallows, half the M&Ms, and any crunchy extras. Use a silicone spatula to “hug” them into the chocolate—no aggressive stirring! Overmixing makes the bars dense. What you want are fluffy little marshmallow pockets that surprise you with every bite.
3. Press & Decorate:
Line your pan with parchment paper (trust me, skipping this is a regret you don’t need). Pour in the mix, then sprinkle the remaining M&Ms on top. Gently press them in so they stick but don’t sink.
Pro hack: Wet your fingers slightly to press the mixture without it sticking to you like edible glue.
4. Chill Out:
Pop the pan in the fridge for 1–2 hours. In a rush? The freezer can cut your chill time down to 30 minutes, but don’t skip this step entirely. The chocolate needs time to firm up so your bars hold their shape and don’t crumble like my first soufflé attempt.
5. Slice & Serve:
Lift the slab out using the parchment. Grab a sharp knife and run it under hot water (then dry) to slice clean, Instagram-worthy squares. Wipe the knife between cuts for pro-level presentation.
Serving Red, White and Blue Marshmallow Bars
Presentation matters, folks! Here are a few showstopping ideas:
-
Stack them high on a rustic wooden board with sparkler toothpicks for a centerpiece-worthy display.
-
Arrange them flag-style on a platter—use strawberry slices for red stripes and a small bowl of blueberries in the corner.
-
Box them up in cellophane treat bags tied with red, white, and blue ribbon for party favors.
-
Plate with flair: Add a scoop of vanilla ice cream, a drizzle of raspberry sauce, or even some whipped cream and fresh berries.
Bonus points if you serve them with mini American flags or edible glitter—because why not?
5 Ways to Make These Bars Your Own
Here are some fun spins you can do to your Red, White and Blue Marshmallow Bars:
-
S’mores Explosion
Swap M&Ms for crushed grahams + mini peanut butter cups. Add a drizzle of melted white chocolate on top for firework vibes. -
Tropical Patriot
Use white chocolate instead of milk, add coconut flakes, and toss in some freeze-dried pineapple chunks. Bonus: it smells like vacation. -
Salty Dog
Add ¼ cup crushed kettle chips or ridged potato chips. Salty + sweet = the flavor duo of dreams. -
Gluten-Free Glory
Skip grahams or use gluten-free pretzels. Be sure to check your chocolate and M&Ms too—some brands sneak in wheat! -
Birthday Blast
Swap M&Ms for rainbow sprinkles and add a drop of cake batter extract to the melted chocolate. Instant party in your mouth.
Confessions of a Marshmallow Addict
True story: The first time I tested this Red, White and Blue Marshmallow Bars recipe, I got overzealous and dumped in the marshmallows while the chocolate was still nuclear-hot. Within seconds, they melted into a pinkish goo that looked like a melted crayon art project. My dog sniffed it and walked away. That’s when I knew: chill the chocolate first, Jamie.
Since then, I’ve made this recipe during heatwaves, camping trips, and a few kitchen disasters involving toddlers with sticky hands. The recipe has been through it all—and evolved to handle real-life chaos. I’ve learned that:
-
A 50/50 milk-to-dark chocolate mix holds up better in heat.
-
Fewer marshmallows = more structural integrity if you’re traveling.
-
Drizzling melted chocolate on top (white or dark) makes it look like you spent WAY more time on it than you did.
Your Burning Questions, Answered
Q: Can I use something besides M&Ms?
A: You bet. Try Reese’s Pieces for a nutty edge, chopped gummy bears (if you’re daring), or freeze-dried fruit like bananas or cherries. Just avoid anything too moist—fresh berries = soggy sadness.
Q: Can I make these ahead?
A: Absolutely. These bars are make-ahead friendly. Store them in the fridge in an airtight container with parchment between layers. They’ll last about five days—or stash in the freezer for up to two months. Just thaw at room temp for 10–15 minutes before serving.
Q: Why did my bars turn out rock-hard?
A: Common culprit: over-chilling or using too much chocolate. Let them sit out for 10–15 minutes before slicing. Also, double-check your chocolate ratio—2 cups chips MAX for the ideal balance.
Q: Are there vegan options?
A: Yes! Use dairy-free chocolate, coconut oil instead of butter, and vegan marshmallows like Dandies. Make sure your add-ins (like candies or mix-ins) are also vegan. Some dark chocolate M&Ms and knockoffs work great.
Party Pairings: Because You’re Extra Like That
Want to turn this treat into a full-on patriotic spread? Pair your Red, White and Blue Marshmallow Bars with:
-
Berry lemonade slushies (spiked or not—your call)
-
Grilled watermelon slices with lime
-
Mini cheeseburgers with star-shaped cheddar cutouts
-
Firecracker popcorn (just toss popcorn with white chocolate and red/blue sprinkles)
Add a backyard playlist with summer hits, some string lights, and boom—your party is now Instagram-worthy.
Nutritional Info (Because Balance Is a Thing)
Let’s be real—these Red, White and Blue Marshmallow Bars aren’t diet food. But they’re also not shame food. They’re joy food. Here’s a ballpark per bar:
-
Calories: 200
-
Fat: 10g
-
Carbs: 26g
-
Sugar: 19g
-
Protein: 2g
Disclaimer: These are approximations. If you’re counting macros, maybe don’t eat three in one sitting. (Or do. I’m not your life coach.)
Final Thoughts: Fireworks, Friends, and Fluff
At the end of the day, these Red, White and Blue Marshmallow Bars aren’t just about chocolate and marshmallows—they’re about moments. Laughing around a picnic table. Sneaking a second square when no one’s looking. Watching sparklers fizzle in sticky hands.
They’re messy, magical, and made for memories.
So the next time the dessert duty falls on you, skip the stress and whip up a batch of these bars. Trust me—they’ll steal the show.