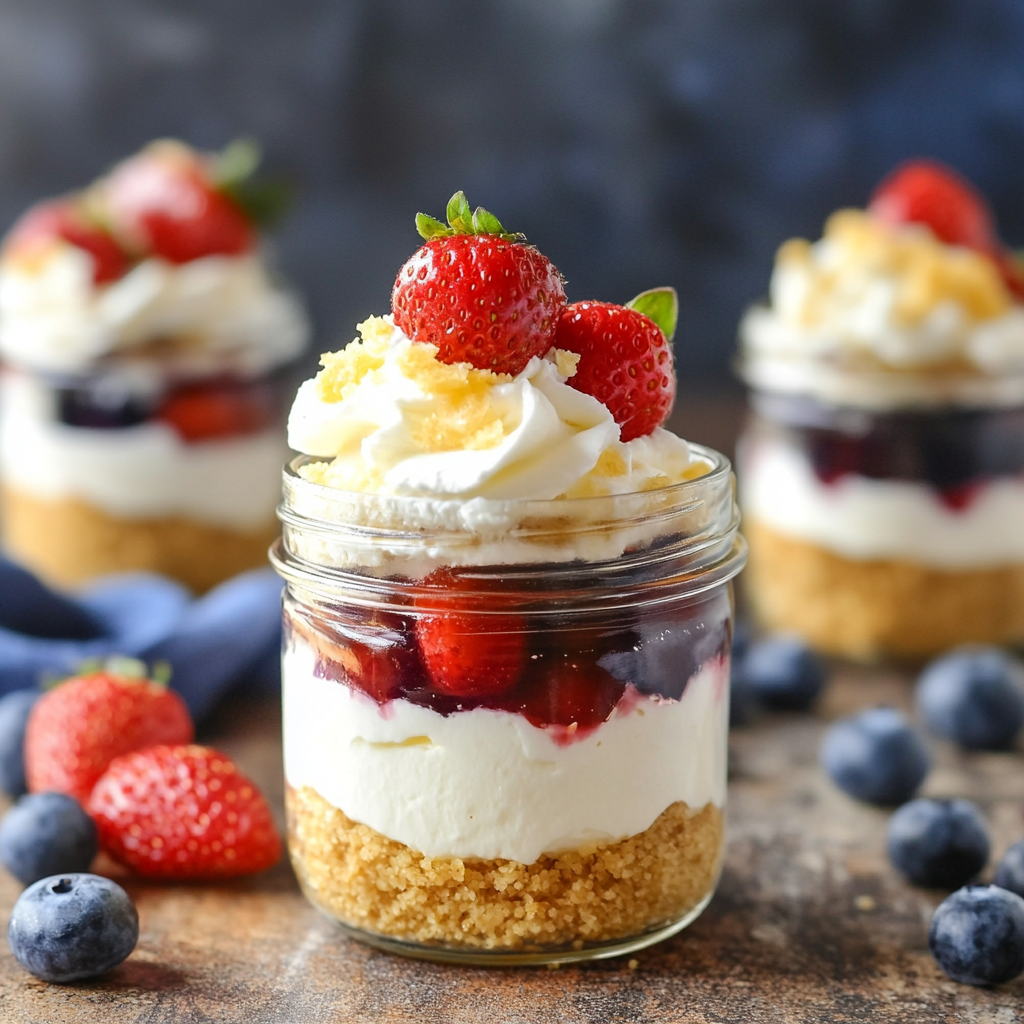
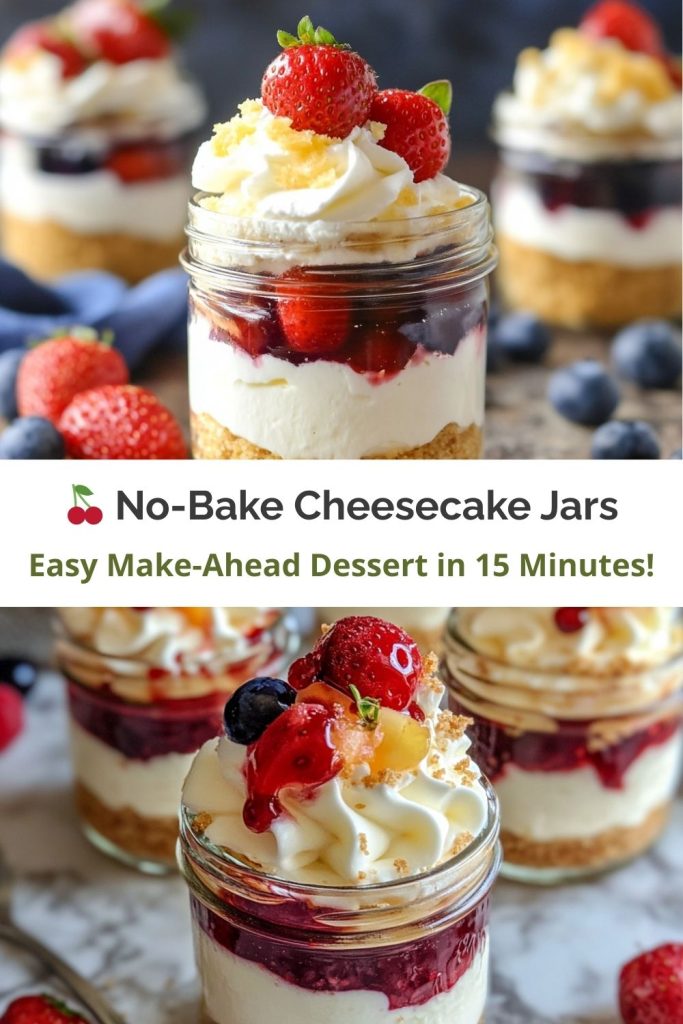
No-Bake Cheesecake Jars: Your New Go-To Dessert for Sweet, Stress-Free Celebrations
Picture this: golden sunlight, a checkered picnic blanket, and a chorus of “oohs” as you pull out adorable little jars filled with creamy cheesecake and jewel-toned fruit. No oven battles, no fancy equipment—just pure, shareable joy. That’s the magic of no-bake cheesecake jars, my friends. They’re like edible confetti for your taste buds, and today? I’m handing you the recipe to create these crowd-pleasers faster than you can say “second helping.”
As a chef who’s burned more crusts than I’d care to admit (we’ll get to that later), I’ve fallen hard for desserts that prioritize flavor over fuss. These jars? They’re my secret weapon for last-minute BBQs, “oh-crap-I-forgot-dessert” moments, and those days when even preheating the oven feels like a marathon. Let’s make your fridge the happiest place in the kitchen!
The Jar That Started It All: A Sweet Slice of Nostalgia
My love affair with jar desserts began in my grandma’s cluttered, flour-dusted kitchen. She’d reuse Bonne Maman jam jars for everything—salad dressings, cookie stashes, and yes, her legendary “cheesecake surprises.” I’d perch on her yellow step stool, legs swinging, as she let me layer graham cracker dust like edible fairy glitter.
Back then, she called them “kitchen love notes.” Each jar was a little story in layers—crumbly base, fluffy filling, fruity flourish. I thought she invented them, and maybe in her way, she did. She’d hum tunes from the radio while folding in cream cheese with all the patience in the world, never once checking a recipe. Watching her was like watching someone perform magic with a spatula.
Fast-forward to my first catering gig—a backyard wedding where the oven died mid-reception. Cue panic… until I remembered those jars. We whipped up 50 cheesecake layers in mismatched mason jars, topping them with the bride’s favorite wild blueberries. The result? A standing ovation and three marriage proposals (for the dessert, not me). That’s when I knew: good food isn’t about perfection. It’s about creating moments that stick to your ribs—and your heart.
Your Cheesecake Toolkit: Simple Ingredients, Big Personality
Here’s the beauty of this recipe: it’s infinitely flexible, playfully simple, and forgiving in all the right ways. You don’t need pastry school skills or obscure ingredients—just a few basics and a whisk.
-
Graham cracker crumbs (1 cup): The buttery foundation! If you’re out of grahams, get creative—digestive biscuits, vanilla wafers, gingersnaps, or even pretzels bring unique textures and flavor.
-
Melted butter (2 tbsp): The delicious glue. Going plant-based? Melted coconut oil brings a dreamy tropical vibe.
-
Cream cheese (8 oz, softened): This is your creamy hero. Tip: leave it out while you sip your morning coffee. Cold cream cheese leads to lumps, and we are not here for lumpy vibes.
-
Powdered sugar (½ cup): It melts right in for a smooth sweetness. Feel free to swap with honey or maple syrup for a deeper, rustic profile—just reduce other liquids a touch to balance the texture.
-
Vanilla extract (1 tsp): The flavor MVP. I’m serious when I say good vanilla is worth the splurge. Think of it like the difference between a polite nod and a warm hug.
-
Whipped topping (1 cup): Yes, you can go with Cool Whip for convenience. But if you want to level up, use fresh whipped cream. Just add a tablespoon of cornstarch if it’s humid to keep it from “weeping.”
-
Fruit topping (1 cup): Here’s where the fun really starts. Go classic with cherry pie filling or take a wild detour with spiced mango, lemon curd, or roasted strawberries.
Building Edible Rainbows: Let’s Layer Up!
Think of this as edible crafting. Channel your inner artist, pop on your favorite playlist, and let’s build these beauties step by step.
Step 1: Crust Chaos
In a small bowl, mix your graham cracker crumbs and melted butter until the mixture resembles wet sand. Press a few spoonfuls into the bottoms of your jars using a shot glass or the bottom of a spice jar. This little hack makes sure you get those neat, compact layers without smearing crumbs all over the jar walls. Pop them into the fridge for about 10 minutes. This is the perfect window for a TikTok dance break or sneaking a taste of the whipped topping.
Step 2: Fluff Therapy
Beat the softened cream cheese until smooth and glossy. This is where a hand mixer shines, but elbow grease and a sturdy whisk also get the job done. Add in powdered sugar and vanilla extract, blending until everything’s silky. Then gently fold in your whipped topping—use a spatula and treat it like you’re tucking in a cloud. This step is oddly therapeutic. Lumps? Don’t panic. They usually vanish as you fold and chill.
Step 3: Jar Jazz
Spoon or pipe the filling over the crusts. If you’re going for Pinterest glam, use a piping bag with a star tip. You’ll feel like a dessert artist. Make sure to leave a little space at the top for fruit—unless you’re Team Extra Topping. (We don’t judge.)
Step 4: Fruit Finale
Add your fruit topping with flair. If you’re using fresh berries, toss them in a splash of lemon juice and a pinch of sugar to bring out their juicy sparkle. If you’re using canned fruit, drain the excess syrup unless you want “cheesecake soup.” (Tasty, but messy.)
Step 5: The Waiting Game
Chill for at least 2 hours. This sets the filling and gives the flavors a chance to mingle. Need to rush it? Toss them in the freezer for 30 minutes, but be warned: texture matters. Slow chilling = best results.
Presentation Perfection: How to Serve Like a Pro
There’s something wildly charming about desserts in jars. Add mini spoons tied with twine, place them on a rustic wood board, and you’ve got yourself dessert and décor in one. Want to take it up a notch for parties? Set up a DIY topping bar. Offer bowls of crushed cookies, chocolate shavings, citrus zest, toasted coconut, and even syrups. It turns dessert into an interactive experience—adults and kids alike will love crafting their own combos.
Feeling seasonal? Add cinnamon-dusted apples in fall, or pomegranate seeds and orange zest in winter. For summer picnics, stick to light fruits like peaches, berries, or kiwi.
Mix It Up: 5 Game-Changing Twists
These no-bake cheesecake jars are a blank canvas. Start with the basics, then branch out and customize your way to legend status.
-
Lemon-Berry Sunshine
Add 2 teaspoons of lemon zest to the cheesecake mixture and top with a fresh blueberry compote. It’s sunshine in a jar—tart, sweet, and beautifully balanced. -
Cookies & Cream Dream
Swap the grahams for crushed Oreos (filling and all!) and fold extra cookie bits into the cheesecake layer. Top with whipped cream and mini cookies for a milk-and-cookie vibe. -
Tropical Escape
Use coconut whipped cream, add diced mango and passionfruit, and sprinkle on toasted coconut flakes. Serve with drink umbrellas for max beachy flair. -
Vegan Vibes
Use plant-based cream cheese, coconut or almond-based whipped cream, and a nut-date crust. It’s completely dairy-free and still 100% luscious. -
Spiked & Sparkly
Add a tablespoon of bourbon or amaretto to the filling, and top with candied pecans or brandied cherries. Great for adults-only dinner parties (and second servings).
Confessions of a Jar Fanatic
True story: I once used a garlic press to crush graham crackers during a camping trip. The result? “Rustic” crusts and a bear visit (apparently, bears love cheesecake too). Over the years, I’ve learned a few things:
-
Baby food jars make perfect single-serve desserts.
-
Crustless filling freezes like a dream—just scoop it like ice cream or serve as a decadent fruit dip.
-
Add 1 teaspoon matcha powder to the filling and top with white chocolate curls for a zen, green tea moment.
These no-bake cheesecake jars travel well, stack in coolers, and double as thoughtful edible gifts. Add a tag with a sweet note, and you’ve got a homemade hug in a jar.
Your Cheesecake Jar SOS Guide
Q: Why is my filling runny?
A: It’s likely that the cream cheese was too cold. Cold cheese won’t whip smoothly, leaving lumps and too much liquid. Next time, soften it fully. If it’s already runny, whisk in a tablespoon of cornstarch or chill longer.
Q: Can I make these ahead?
A: Absolutely! They’re fridge-friendly for up to 3 days. If prepping far in advance, leave off the fruit and add it fresh before serving. You can also freeze the jars (without fruit topping) for up to a month. Thaw in the fridge overnight.
Q: Crust sticking to the jar?
A: Try lightly greasing the jars before adding the crust. Or embrace the mess—it’s part of the charm! Pro tip: serve with long-handled espresso spoons to dig deep.
Nutritional Snapshot (Per Serving)
-
Calories: ~280
-
Protein: 3g
-
Fat: 18g
-
Carbs: 25g
Using reduced-fat cream cheese cuts calories by about 20%. For keto or low-carb options, try an almond flour crust and erythritol as a sweetener substitute.
Whether you’re prepping for a weekend brunch, a bridal shower, or just looking to upgrade your weeknight dessert game, these no-bake cheesecake jars bring big flavor with zero oven stress. They’re nostalgic yet modern, simple yet show-stopping.
And once you make your first batch, fair warning—you may never go back to traditional cheesecake again. After all, dessert tastes sweeter when served in a jar. 🫶