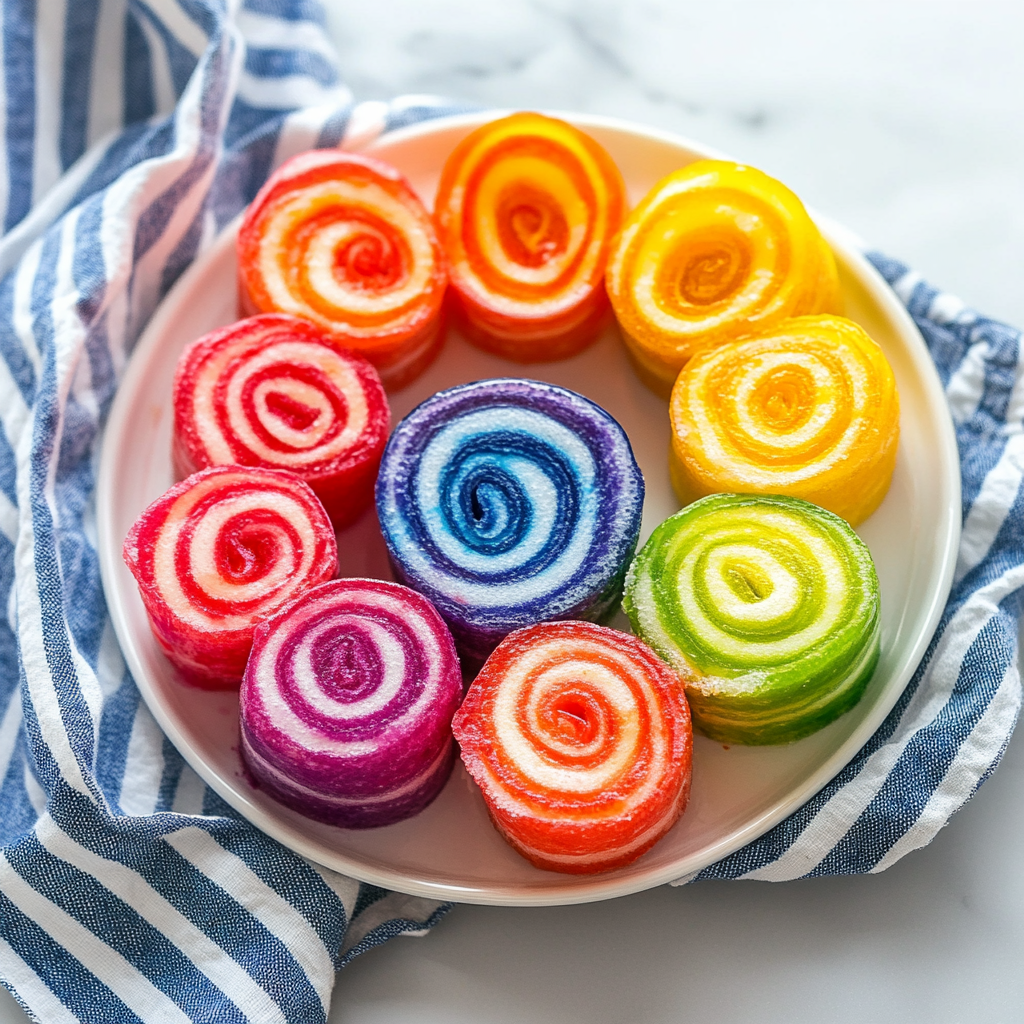
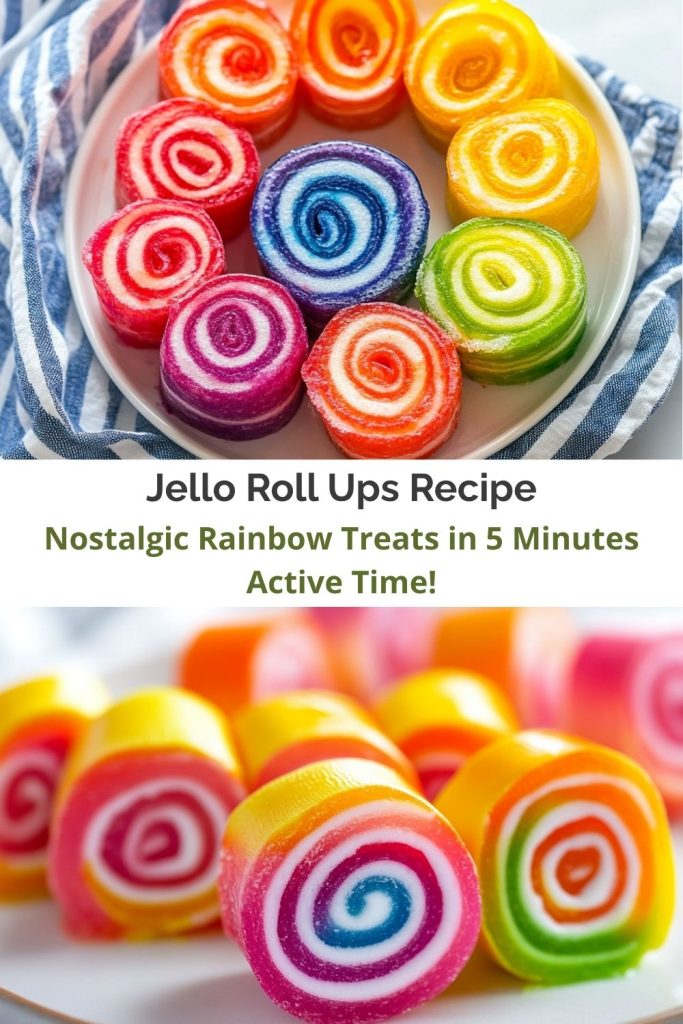
Jello Roll Ups: The Wiggly, Giggle-Inducing Treat That’s Pure Nostalgia
Hey there, fellow flavor adventurers! Your kitchen accomplice and lifelong believer that food should be as fun as it is delicious here, and today we’re diving fork-first into a recipe that’s equal parts science experiment and sugary masterpiece: Jello Roll Ups.
Imagine if a rainbow, a marshmallow cloud, and your favorite childhood birthday party had a delicious lovechild—that’s exactly what you’re about to create.
Perfect for lazy Sunday afternoons with kids, last-minute party snacks, or when you just need a dopamine hit in dessert form, these swirly delights are like edible playdough for all ages. No fancy tools, no intimidating techniques—just pure, wobbly joy that’ll make you feel like a kid licking cake batter off the spoon again.
Ready to turn your kitchen into a Willy Wonka workshop? Let’s roll (pun totally intended)!
The Time I Turned Grandma’s Pantry Into a Jello Jungle
Let me take you back to 1997. Nine-year-old me, armed with a neon fanny pack and a burning desire to impress my cousins, decided Grandma’s annual BBQ needed a “fancy” dessert. Cue the Great Jello Heist—I raided her cupboard and found every color of Jello known to humankind. What followed was a sticky, glorious mess of layered greens, reds, and blues that…well, let’s just say my “Jello Lasagna” never quite set.
But here’s the magic: When my marshmallow-Jello hybrid experiment accidentally got rolled up in wax paper? Boom. The first (very accidental) Jello Roll Up was born. Twenty-seven years later, I’ve perfected that happy kitchen oops into the recipe you’re holding now.
Moral of the story? Sometimes the best recipes come from colorful disasters. And those recipes, once refined, turn into iconic staples that friends request every time they visit. So go ahead—embrace your inner nine-year-old, raid that pantry, and get ready to make a mess that just might become legendary.
Your Shopping List for Jello Roll Ups
Here’s everything you need to bring these gooey, chewy, wobbly treats to life:
-
1 (3 oz) box flavored Jello – Go wild with colors! Pro tip: Tropical flavors like pineapple or berry blue make killer roll-ups. Want a vegan version? Swap with agar-agar powder (use 1 tbsp + 2 tsp sugar per box).
-
½ cup boiling water – Hotter than your last text message crush. This activates the Jello’s jiggle powers!
-
1½ cups mini marshmallows – The sticky glue holding our rainbow together. Allergy-friendly? Dandies vegan marshmallows work beautifully.
Chef’s Whisper: “Grab non-stick parchment paper too—trust me, you don’t want to chisel Jello off your pan later.”
Pro tip: If you’re planning to make multiple batches for a party, grab a variety pack of Jello flavors so you can create a whole platter of colors. Each one takes only minutes to make, and when displayed together, they create a dessert table that looks like it came from a candy-coated dream.
How to Make Jello Roll Ups: Step-by-Step
This process is straightforward and low-stress—perfect for involving the kids or multitasking with your favorite playlist in the background. Here’s how it’s done:
Step 1: Boil That Water Like You Mean It
Heat your water until it’s doing a full-on bubble mosh pit. You want it actively boiling, not just simmering. Pour it into a heatproof bowl and whisk in the Jello powder until it’s smoother than a jazz saxophonist. No granules allowed! A silky-smooth mix is your golden ticket to even texture later on.
Bonus tip: Use a glass bowl so you can see if any undissolved crystals are hiding at the bottom.
Step 2: Marshmallow Meltdown
Dump in those mini marshmallows. Microwave in 15-second bursts, stirring between each round. Watch closely—they’ll puff up like excited clouds! Stop when you’ve got a glossy, lava-like goo.
A quick stir should leave no lumps behind. You’re aiming for a melted, slightly frothy mixture. If there are bits of unmelted marshmallow, don’t panic—they’ll eventually melt into the mix with a little extra stirring.
Burn warning: No multitasking here! Marshmallows love to sneak into “eruption mode” when unsupervised.
Step 3: Pan Prep Party
Line an 8×8” pan with parchment paper, leaving extra on the sides for easy lifting later. Pro hack: Spritz the paper with cooking spray first for flawless peeling. This step saves you from the tragic heartbreak of sticking, tearing, or scraping your art off the pan.
No parchment paper? A silicone baking mat works too. Just don’t skip the non-stick element!
Step 4: The Big Chill
Pour your molten Jello mixture into the pan, tilting gently to spread evenly. Don’t use a spatula—the surface should stay smooth and uninterrupted. Once it’s in, transfer it to the fridge and let it chill for 45–60 minutes.
Test readiness by poking the center—it should bounce back like a trampoline, not stick to your finger. If it’s tacky, give it another 10–15 minutes.
Pro tip: You can refrigerate it longer if needed. Just be sure to cover the top lightly with plastic wrap to avoid moisture from forming.
Step 5: Roll It Like You’re a Sushi Master
Lift the slab using the parchment wings. Starting at one end, roll tightly but gently—imagine you’re swaddling a Jello baby. Use the paper to guide you without touching the sticky surface directly.
You’ll get the hang of it after a few rolls. If the edges crack slightly, keep going. Once it’s sliced, no one will notice.
Step 6: Slice & Shine
With a warm, wet knife (wiped between cuts), slice into 1” pinwheels. This keeps the edges clean and helps you avoid pulling the Jello apart.
Plate them on a chilled platter to prevent sliding. Boom—edible stained glass!
Serving Your Jello Roll Ups
Jello Roll Ups are already a party on their own, but with a little extra presentation flair, they can become the star of your dessert table.
-
Retro Vibes: Arrange roll-ups on a vintage cake stand, alternating colors for that rainbow-striped appeal.
-
Birthday Bash: Skewer roll-ups with colorful toothpicks and dip the ends in rainbow sprinkles.
-
Jello Sushi: Wrap slices in fruit leather to mimic sushi rolls. Add a gummy worm “wasabi” and serve on a bamboo tray.
-
Classroom Treats: Wrap each roll-up in wax paper like a candy and tie with ribbon for party favors.
-
Cotton Candy Clouds: Nestle roll-ups into little tufts of cotton candy on a plate for a whimsical, dreamy effect.
There’s no wrong way to serve these, so let your imagination run wild!
5 Ways to Remix Your Jello Roll Ups
Once you’ve mastered the classic version, it’s time to level up. Here are a few fun remixes to keep things interesting:
-
Tropical Twist: Layer lime and mango Jello sheets before rolling. The visual contrast and flavor combo are unbeatable.
-
Midnight Magic: Use black cherry Jello and sprinkle in a pinch of edible glitter for an unexpected shimmer.
-
Protein Punch: Add 1 scoop of unflavored collagen peptides to the mix for a subtle health boost.
-
Zesty Upgrade: Stir in 1 tsp lemon zest before chilling to give the Jello a bright, citrusy kick.
-
Dairy-Free Delight: Use vegan marshmallows like Dandies for a fully plant-based version.
These tweaks keep the experience fresh while staying true to the magic of the original.
Chef’s Kitchen Confessions
True story: I once tried making these with sugar-free Jello during a “health kick” phase. The result? Roll-ups that tasted like sweetened sadness. Lesson learned: Embrace the sugar rush!
Over the years, I’ve experimented with a ton of add-ins: Pop Rocks, crushed cereal, freeze-dried fruit, and even rainbow sprinkles inside the mixture. Some were hits, some were…learning experiences. But the classic version remains my go-to. It’s simple, dependable, and just plain fun.
If your roll cracks, don’t toss it! Just call it “abstract art” and drizzle with melted white chocolate or candy melts. A little sweetness on top never hurts.
Jello 911: Save Your Swirls!
Don’t worry if things don’t go perfectly the first time. Even wobbly mistakes are edible and fun! Here are answers to common kitchen conundrums:
Q: Help! My mixture won’t set!
A: Did you skimp on chilling time? Give it another 15 minutes. Still sticky? Next time, reduce the marshmallows by ¼ cup—they can slow down the firming process if overused.
Q: Can I use regular marshmallows?
A: Absolutely! Just chop them into mini chunks first. They’ll melt more evenly and create the same glossy texture.
Q: How long do these keep?
A: About 3 days in the fridge. After 24 hours, they may start to “sweat” or get sticky, but they’ll still taste delicious. Best enjoyed the day they’re made.
Q: Can I freeze them?
A: Not recommended. Freezing ruins the texture, making the Jello rubbery and unappealing when thawed.
Q: Can I double the batch?
A: Definitely! Use a 9×13” pan and double all ingredients. Just be mindful of even spreading and give it an extra 15 minutes to chill thoroughly.
Nutrition (per roll-up)
Calories: 60
Fat: 0g
Carbs: 14g
Protein: 1g
Note: Nutrition varies slightly by Jello flavor and marshmallow brand.
Jello Roll Ups are more than just a recipe—they’re a sensory memory, a creative outlet, and a little spark of edible joy. Whether you’re making them with the kids, prepping for a celebration, or just treating yourself to something fun and unexpected, these rainbow pinwheels are a guaranteed win.