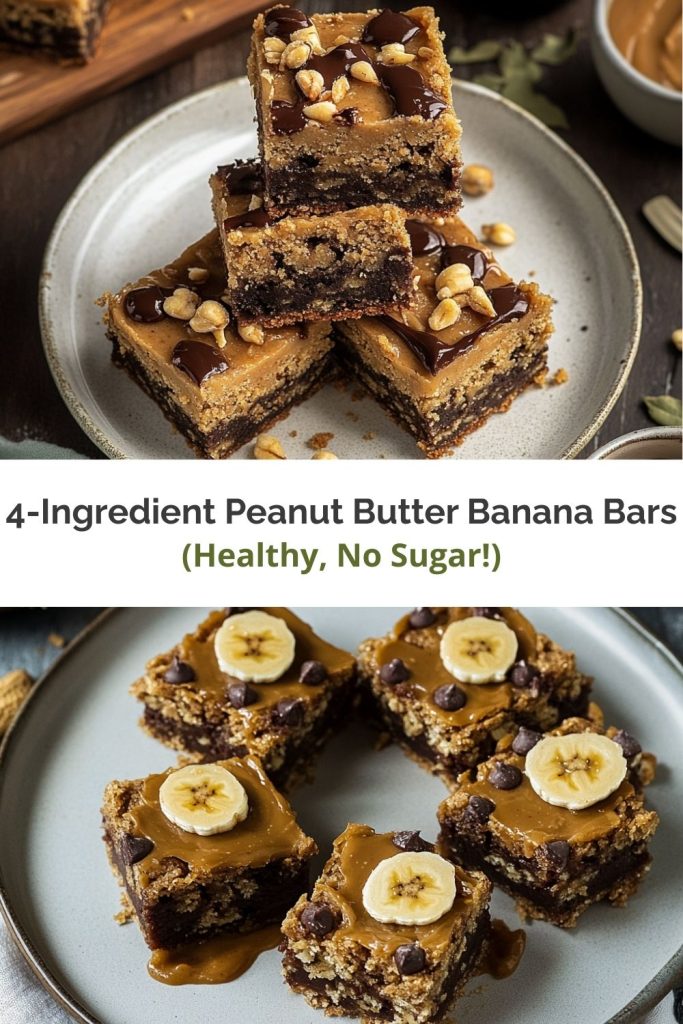
4-Ingredient Peanut Butter Banana Bars: Sweet Simplicity at Its Best
The Lunchbox Legend: A Banana-PB Love Story
Let me take you back to third grade. My mom, the OG kitchen wizard, had a rule: “If you can mash it, you can bake it.” One rainy Saturday, she handed me a bowl, two spotty bananas, and a jar of peanut butter. “Let’s see what happens,” she said with a wink. What happened was glorious chaos. Banana chunks flew, peanut butter stuck to the dog’s tail, and my little brother declared it “the best mess ever.”
You haven’t lived until you’ve tried peeling peanut butter off a Labrador. But despite the mess—and the impromptu bath time for the dog—something magical happened in that oven. The smell alone was worth every sticky surface. Warm banana mingled with roasted peanut, filling the whole house with a scent that screamed comfort and nostalgia. We hovered by the oven like kids on Christmas morning. When those bars came out—golden, fragrant, and slightly lopsided—we knew we’d struck gold. Mom slipped them into my lunchbox all week, and by Friday, my friends were trading their Oreos for a bite.
And listen, if third-graders are willing to give up Oreos, you know it’s the real deal.
Fast-forward 20 years, and I still make these bars every Sunday. They’re my “adulting win” snack—proof that joy doesn’t need complicated recipes, just a few good ingredients and a dash of nostalgia. 🍌✨ Whether I’m in the middle of a chaotic week or just want something warm with my coffee, these bars never let me down. They remind me of home, of messy beginnings, and the beauty of keeping things simple.
What You’ll Need (and Why!)
Here’s the beauty: only four ingredients. Four! And they all play a role—no fluff, no fillers.
2 ripe bananas – The spottier, the better!
They add natural sweetness and moisture. You want those bananas that are soft, speckled, maybe even slightly collapsed. Those are gold. No ripe bananas? Bake unripe ones at 300°F for 15 minutes to soften. You’ll end up with caramelized sweetness that works beautifully in the batter.
1 cup natural peanut butter – Creamy or crunchy!
Just avoid brands with added sugar or oils. The natural stuff keeps things wholesome and adds that irresistible richness. Stir it well before measuring—it tends to separate in the jar. For nut-free pals, sunflower seed butter works like a charm. I’ve used almond butter in a pinch too, but nothing quite beats the classic PB + banana combo.
2 eggs – They bind everything together.
Eggs are what give these bars structure and lightness. Want to make it vegan? Swap in 2 flax eggs (2 tbsp ground flax + 5 tbsp water, let sit 5 mins). It works beautifully, and you get bonus fiber. Win-win.
½ tsp baking soda (optional) – Adds a fluffy lift.
This is the only optional ingredient in the mix. If you’re into a lighter, cake-like texture, throw it in. If you’re feeling fudgy and dense, leave it out. Either way, you win.
Chef’s Tip:
Add a pinch of salt if your peanut butter isn’t salted. It’ll make those flavors pop! That little touch of salt against the sweet banana? Chef’s kiss. 👌
Let’s Bake! (Spoiler: It’s Easier Than Folding Fitted Sheets)
And that’s saying something, because folding a fitted sheet is basically a full-body workout meets brain teaser.
-
Preheat your oven to 350°F (175°C) and line an 8×8-inch baking dish with parchment paper.
(Pro hack: Spray the dish first—the paper will stick better!) This little trick will save you from the dreaded batter-sliding-around situation. Plus, cleanup is a breeze. -
Mash those bananas in a mixing bowl until smooth.
A few lumps? No stress! They add texture. 🍌 In fact, I kind of like when you get a little bite of banana in there. Makes it feel rustic and homemade. -
Stir in peanut butter, eggs, and baking soda (if using).
Mix until it looks like thick, dreamy batter. It’ll be glossy, a little sticky, and smell like heaven. Taste-test approved? You’re golden. (No shame in licking the spoon.) -
Pour into the dish and spread evenly.
For fancy flair, sprinkle chocolate chips or crushed nuts on top! I’ve done a drizzle of honey, a dusting of cinnamon, even a few blueberries scattered across. Make it your own. -
Bake 20–25 minutes until the edges are golden and the center springs back when tapped.
(If it jiggles, give it 2 more minutes!) Ovens vary, so start checking around 20. The edges should look set and slightly crisped. Don’t worry if the center feels soft—it firms up as it cools. -
Cool completely before slicing.
I know, waiting is hard—but this prevents crumbly chaos! If you’re in a rush, you can pop it into the fridge to speed things up. But seriously, give it a little rest. It’s worth the wait.
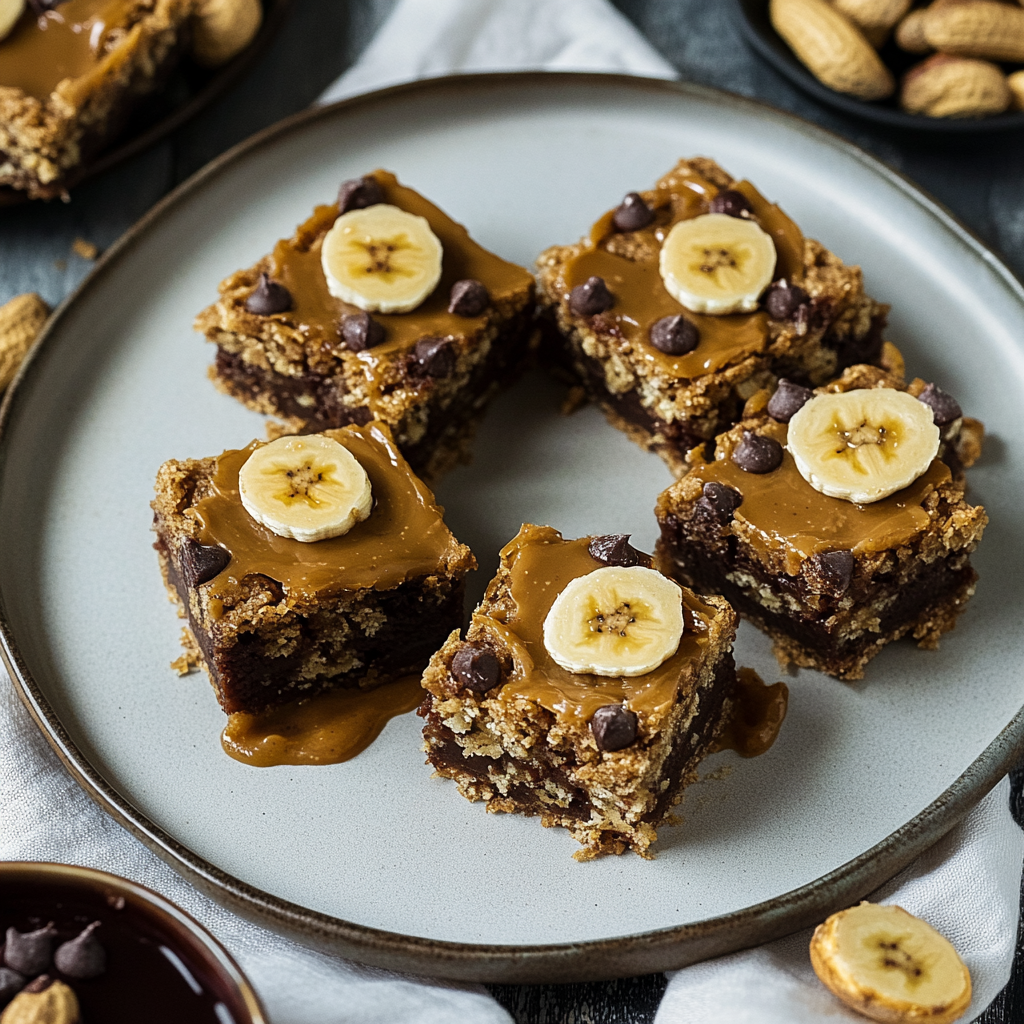
How to Serve These Bad Boys
Slide a butter knife under the parchment to lift the whole slab onto a cutting board. Slice into 8 squares (or 12 minis for kiddos!). They’re soft enough to eat with your hands but firm enough not to fall apart. Drizzle with melted PB, add banana slices, or dust with cinnamon. You could even layer them into yogurt parfaits or crumble one over a smoothie bowl. Pair with coffee for breakfast or vanilla ice cream for dessert. Store leftovers in an airtight container—if they last that long! 😉
Sometimes I wrap a few individually and toss them into the freezer. They thaw perfectly and make an excellent emergency snack. (You know, for those “I need something now before I gnaw my own hand” moments.)
Mix It Up: 5 Delicious Twists
Want to jazz things up? Try one of these fun add-ins or swaps. Trust me, you can’t go wrong.
Chocolate Chip Bliss:
Fold in ¼ cup dark chocolate chips pre-baking. Melty, dreamy, and slightly indulgent.
Protein Power:
Add 1 scoop vanilla protein powder + 2 tbsp milk. Great for post-workout refuels.
Berry Burst:
Swirl in 2 tbsp raspberry jam before baking. A little tart, a little sweet, and very sophisticated.
Nut-Free:
Use sunflower seed butter and top with pumpkin seeds. Great for school-safe treats.
Vegan Vibes:
Flax eggs + dairy-free chocolate chips. Plant-based and fabulous.
Behind the Recipe: Chef’s Secrets
Fun fact: The first time I made these, I forgot the baking soda. The result? Dense, gooey bars my brother called “banana peanut butter fudge.” Now I keep both versions in rotation! Over the years, I’ve learned:
-
Too mushy? Your bananas were overripe. Bake 5 minutes longer next time!
-
Want to freeze them? Wrap bars in parchment and thaw overnight for grab-and-go goodness.
-
Need a dessert bar? Add a scoop of vanilla ice cream and a drizzle of caramel.
-
Want crunch? Stir in chopped peanuts or top with granola before baking.
And yes, my dog still tries to lick the bowl. Some things never change. 🐾
Your Questions, Answered
Q: Can I use crunchy peanut butter?
A: Absolutely! It adds a fun texture. Just note: Natural PB separates, so stir it well first.
Q: Why did my bars turn out dry?
A: Overbaking or too-small bananas. Stick to 20–25 minutes and aim for medium-sized bananas (about ¾ cup mashed).
Q: Can I double the recipe?
A: Yes! Use a 9×13-inch dish and bake 25–30 minutes.
Nutrition Per Bar (Because Knowledge is Power!)
-
Calories: ~180
-
Protein: 6g
-
Fiber: 2g
-
Sugar: 6g (naturally from bananas!)
Gluten-free, dairy-free, and secretly wholesome. 🙌 You can feel good about grabbing one (or two).
And there you go, friend. A snack that’s equal parts nostalgic and nourishing. Four ingredients. One bowl. Zero stress. You deserve snacks that work with your life—not against it.
Want a printable version or a photo tutorial? I can help with that too!