
No-Churn Magic: Whip Up This Super Easy Marble Ice Cream
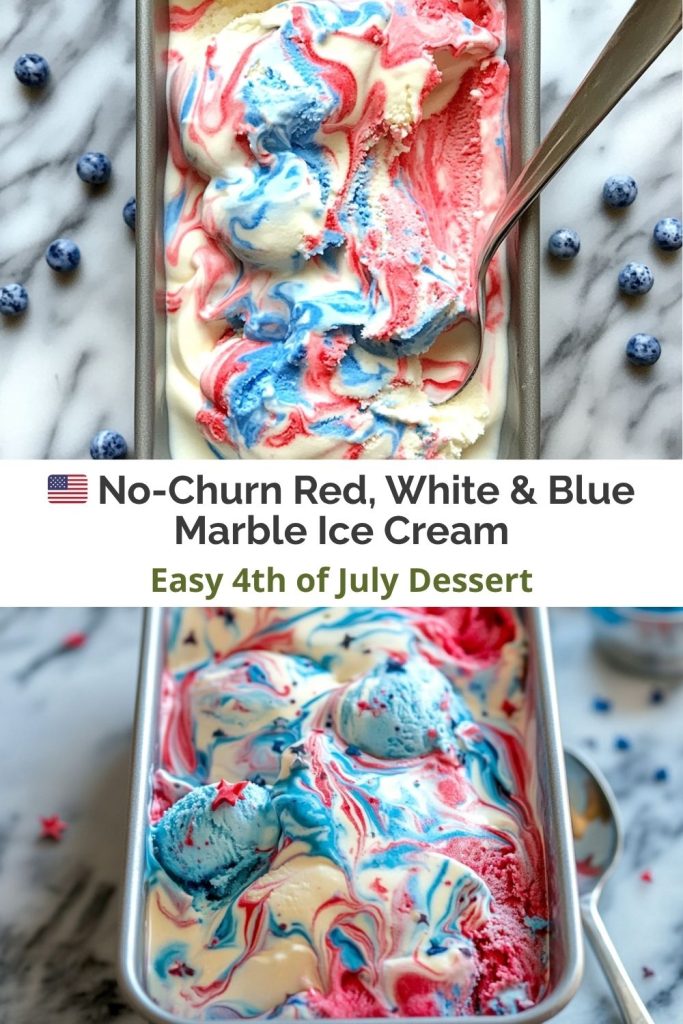
Hey there, fellow flavor fanatics! Chef here, your ice cream accomplice, ready to spill the beans on the easiest (and most Instagram-worthy) frozen treat you’ll make this summer—Super Easy Marble Ice Cream. Picture this: velvety vanilla ice cream swirled with bold red and blue streaks, no fancy machine required, and guaranteed to make your Fourth of July spread look like it’s straight out of a Pinterest dream.
Now, I know what you’re thinking: “Ice cream without a churn? Isn’t that… risky?” Trust me, I’ve been there. Years ago, I tried making “easy” ice cream for a backyard BBQ, only to serve what my cousin lovingly called “frosted sweet milk.” But this recipe? It’s foolproof. The secret? Sweetened condensed milk acts like fairy dust here—keeping things creamy while the whipped cream brings the fluff. Plus, swirling those colors with the kids? Pure joy. My little one once declared it “better than fireworks,” and honestly? I agree.
Whether you’re hosting a star-spangled shindig or just craving something cold and colorful, this super easy marble ice cream is your ticket to dessert hero status. Let’s grab our spoons and dive in!
Why This Recipe Melts My Heart (But Not Your Ice Cream!)
Flashback to the summer of 2018. It was my first Fourth of July as a new dad, and I was determined to contribute more than paper plates and soda cans to the family BBQ. I wanted something special—something festive but not fussy. I didn’t have an ice cream maker, but I’d read whispers online about the magic of no-churn methods. So, I grabbed some heavy cream, a can of sweetened condensed milk, and crossed my fingers.
What emerged was more than dessert—it was an instant family tradition. My then three-year-old daughter helped me with the food coloring. I can still see her face as she carefully (and very seriously) swirled red and blue into the creamy base. She stood back, admired her creation, and said, “It looks like a flag you can eat!” Cue the heart-melt.
We’ve made this every year since—always together, always messy, and always delicious. Last year, that same little girl taught her baby brother how to swirl like a pro. I watched them layer and drag a butter knife through the colorful clouds, giggling the whole time. This dessert? It’s more than a sweet treat. It’s a memory in a pan. A tradition you can taste.
What You’ll Need to Make Super Easy Marble Ice Cream
Here’s the beauty of this recipe: you only need four ingredients and a couple drops of color to pull it all together. No stovetop, no eggs, no stabilizers. Just a little whipping and a lot of swirling.
Your Grocery List:
-
2 cups heavy whipping cream
The backbone of your ice cream. You want this cold—like, fridge-chilled—to get those lovely stiff peaks. If you’re dairy-free, swap in the thick part of full-fat canned coconut cream. Trust me, it works! -
1 (14 oz) can sweetened condensed milk
This is your sweetness and structure. Regular milk or cream won’t cut it—it lacks the sugar and viscosity that makes the no-churn magic happen. Vegan friends: coconut condensed milk is your friend. -
1 tsp vanilla extract
Don’t skimp here. A little real vanilla goes a long way. Want to be fancy? Scrape in a vanilla bean pod for those gorgeous black flecks. -
Red and blue gel food coloring
Go for gel over liquid—gel delivers vibrant color without thinning out the base. Natural options like beet powder (red) and spirulina (blue) are lovely too, just know the hues will be a bit more muted and earthy.
How to Make Super Easy Marble Ice Cream: Step-by-Step
Here comes the fun part—making the magic happen!
-
Whip it good
Start with a chilled mixing bowl and beaters (pop them in the freezer for 10 minutes first). Pour in your heavy cream and whip until stiff peaks form—when the beaters leave peaks that stand tall and proud, you’re golden. If the mix is runny, it’s under-whipped. If it looks chunky or starts to separate, you’ve gone too far (hello, accidental butter!). -
Sweeten the deal
In a separate large bowl, mix your sweetened condensed milk and vanilla extract until well combined. Gently fold in the whipped cream with a spatula, working slowly and delicately. Think of it like folding fluffy clouds into golden sunshine. -
Divide & color
Split your base into three bowls. Leave one plain (white), and tint the others red and blue. A little gel coloring goes a long way—dip in a toothpick and swirl it through. Want bold hues? Add a bit more, but go slow. -
Layer & swirl
Grab a loaf pan or freezer-safe dish. Add alternating spoonfuls of the red, white, and blue mixes. Don’t worry about perfection—this is art! Once you’ve layered it all in, drag a butter knife through the top once or twice to marble the colors. Resist the urge to over-swirl unless you’re aiming for purple (still tasty, but not quite the vibe). -
Freeze the fun
Cover your masterpiece with parchment paper, pressing it directly onto the surface to prevent ice crystals. Bonus move: write “DO NOT TOUCH” across the top in bold marker if you’ve got snacky household members. Freeze for at least 6 hours, or overnight for the perfect scoopable consistency.
Serving Up Super Easy Marble Ice Cream
There’s something deeply satisfying about scooping this tri-color beauty onto a cone and watching jaws drop. It’s like edible fireworks. Here are a few fun serving ideas:
-
Waffle cones: Classic, nostalgic, and always a win.
-
Red Solo cups: Because nothing says “summer party” like ice cream in a Solo cup with a plastic spoon.
-
Mini parfaits: Layer scoops with crushed graham crackers and berries.
-
Star-spangled sundaes: Top with whipped cream, strawberries, blueberries, and—of course—star-shaped sprinkles.
-
Party trays: Pre-scoop into muffin liners and freeze on a tray for easy grab-and-go servings during BBQs and picnics.
Mix It Up: 5 Twists on Your Super Easy Marble Ice Cream
This base is your blank canvas. Once you’ve got the hang of the method, the remix possibilities are endless.
-
Unicorn Vibes
Swap out the patriotic colors for pink, purple, yellow, and teal. Add edible glitter or star sprinkles for sparkle and magic. -
Berry Burst
Fold in crushed strawberries to your red portion and mashed blueberries to the blue. Adds a pop of flavor and color—no food coloring needed. -
Cookies & Cream Swirl
Add crushed chocolate sandwich cookies to your white base. Swirl as usual for the ultimate creamy crunch. -
Boozy Bash
Spike the red with a touch of raspberry liqueur and the blue with blue curaçao. Just remember—too much alcohol affects the freeze, so a splash is plenty. -
Sugar-Free Freedom
Use keto condensed milk and natural food coloring or fruit powders for a lower-carb version. Bonus points if you throw in chopped nuts or sugar-free chocolate chunks.
Chef’s Confessions & Pro Tips
Let me be real: the first time I made this, I used liquid food coloring. Rookie mistake! I ended up with pale pastel ice cream that looked like a sad Easter egg. Cute? Maybe. Festive? Not quite. I quickly learned that gel coloring is non-negotiable for vibrancy. Since then, I always keep a stash in my pantry—and suggest you do too.
Another game-changing tip? A pinch of sea salt in the base. Just a tiny bit cuts through the sweetness and rounds out the flavor. Think salted caramel vibes. And if you’re feeling bold, ripple a bit of strawberry or blueberry jam into the layers instead of coloring. It adds beautiful texture and bursts of fruity goodness.
Lastly, be patient. I know the temptation to peek every hour or test a scoop early. But for the best consistency, give it a solid overnight freeze. Your future self will thank you.
You Asked, I Scooped: FAQs
Q: Can I use liquid food coloring?
A: You can, but it’ll take more, and the colors won’t be as bold. Gel coloring is the MVP here—worth every penny.
Q: My ice cream is icy, not creamy. What happened?
A: A couple things might’ve gone wrong. Either the base was overmixed (flattening those whipped peaks), or it wasn’t tightly covered in the freezer. Always press parchment directly onto the surface and seal well.
Q: Can I make this ahead of time?
A: Absolutely. It keeps well in the freezer for up to 2 weeks. Just let it soften for 5–10 minutes at room temp before scooping.
Q: Help! My red and blue blended into purple.
A: It happens! That’s why we only swirl once or twice. Too much swirling blends the colors. But hey—purple still tastes amazing, and your guests probably won’t mind a bit.
Q: Can I double the recipe?
A: Yes! Just use a larger pan (like a 9×13″ baking dish) or make two batches. Perfect for feeding a crowd!
Nutritional Facts
Calories: 260 | Fat: 18g | Carbs: 23g | Sugar: 21g | Protein: 4g per serving
Let freedom (and flavor) ring!
Final Scoop
There’s something magical about creating a dessert that feels festive, looks stunning, and brings people together. This Super Easy Marble Ice Cream does exactly that. It’s a little nostalgic, a little whimsical, and 100% summer-ready.
So whether you’re hosting a backyard BBQ, toasting to freedom under fireworks, or just need a cool treat to beat the heat, this recipe’s got your back. No churn. No stress. Just sweet, scoopable joy.